


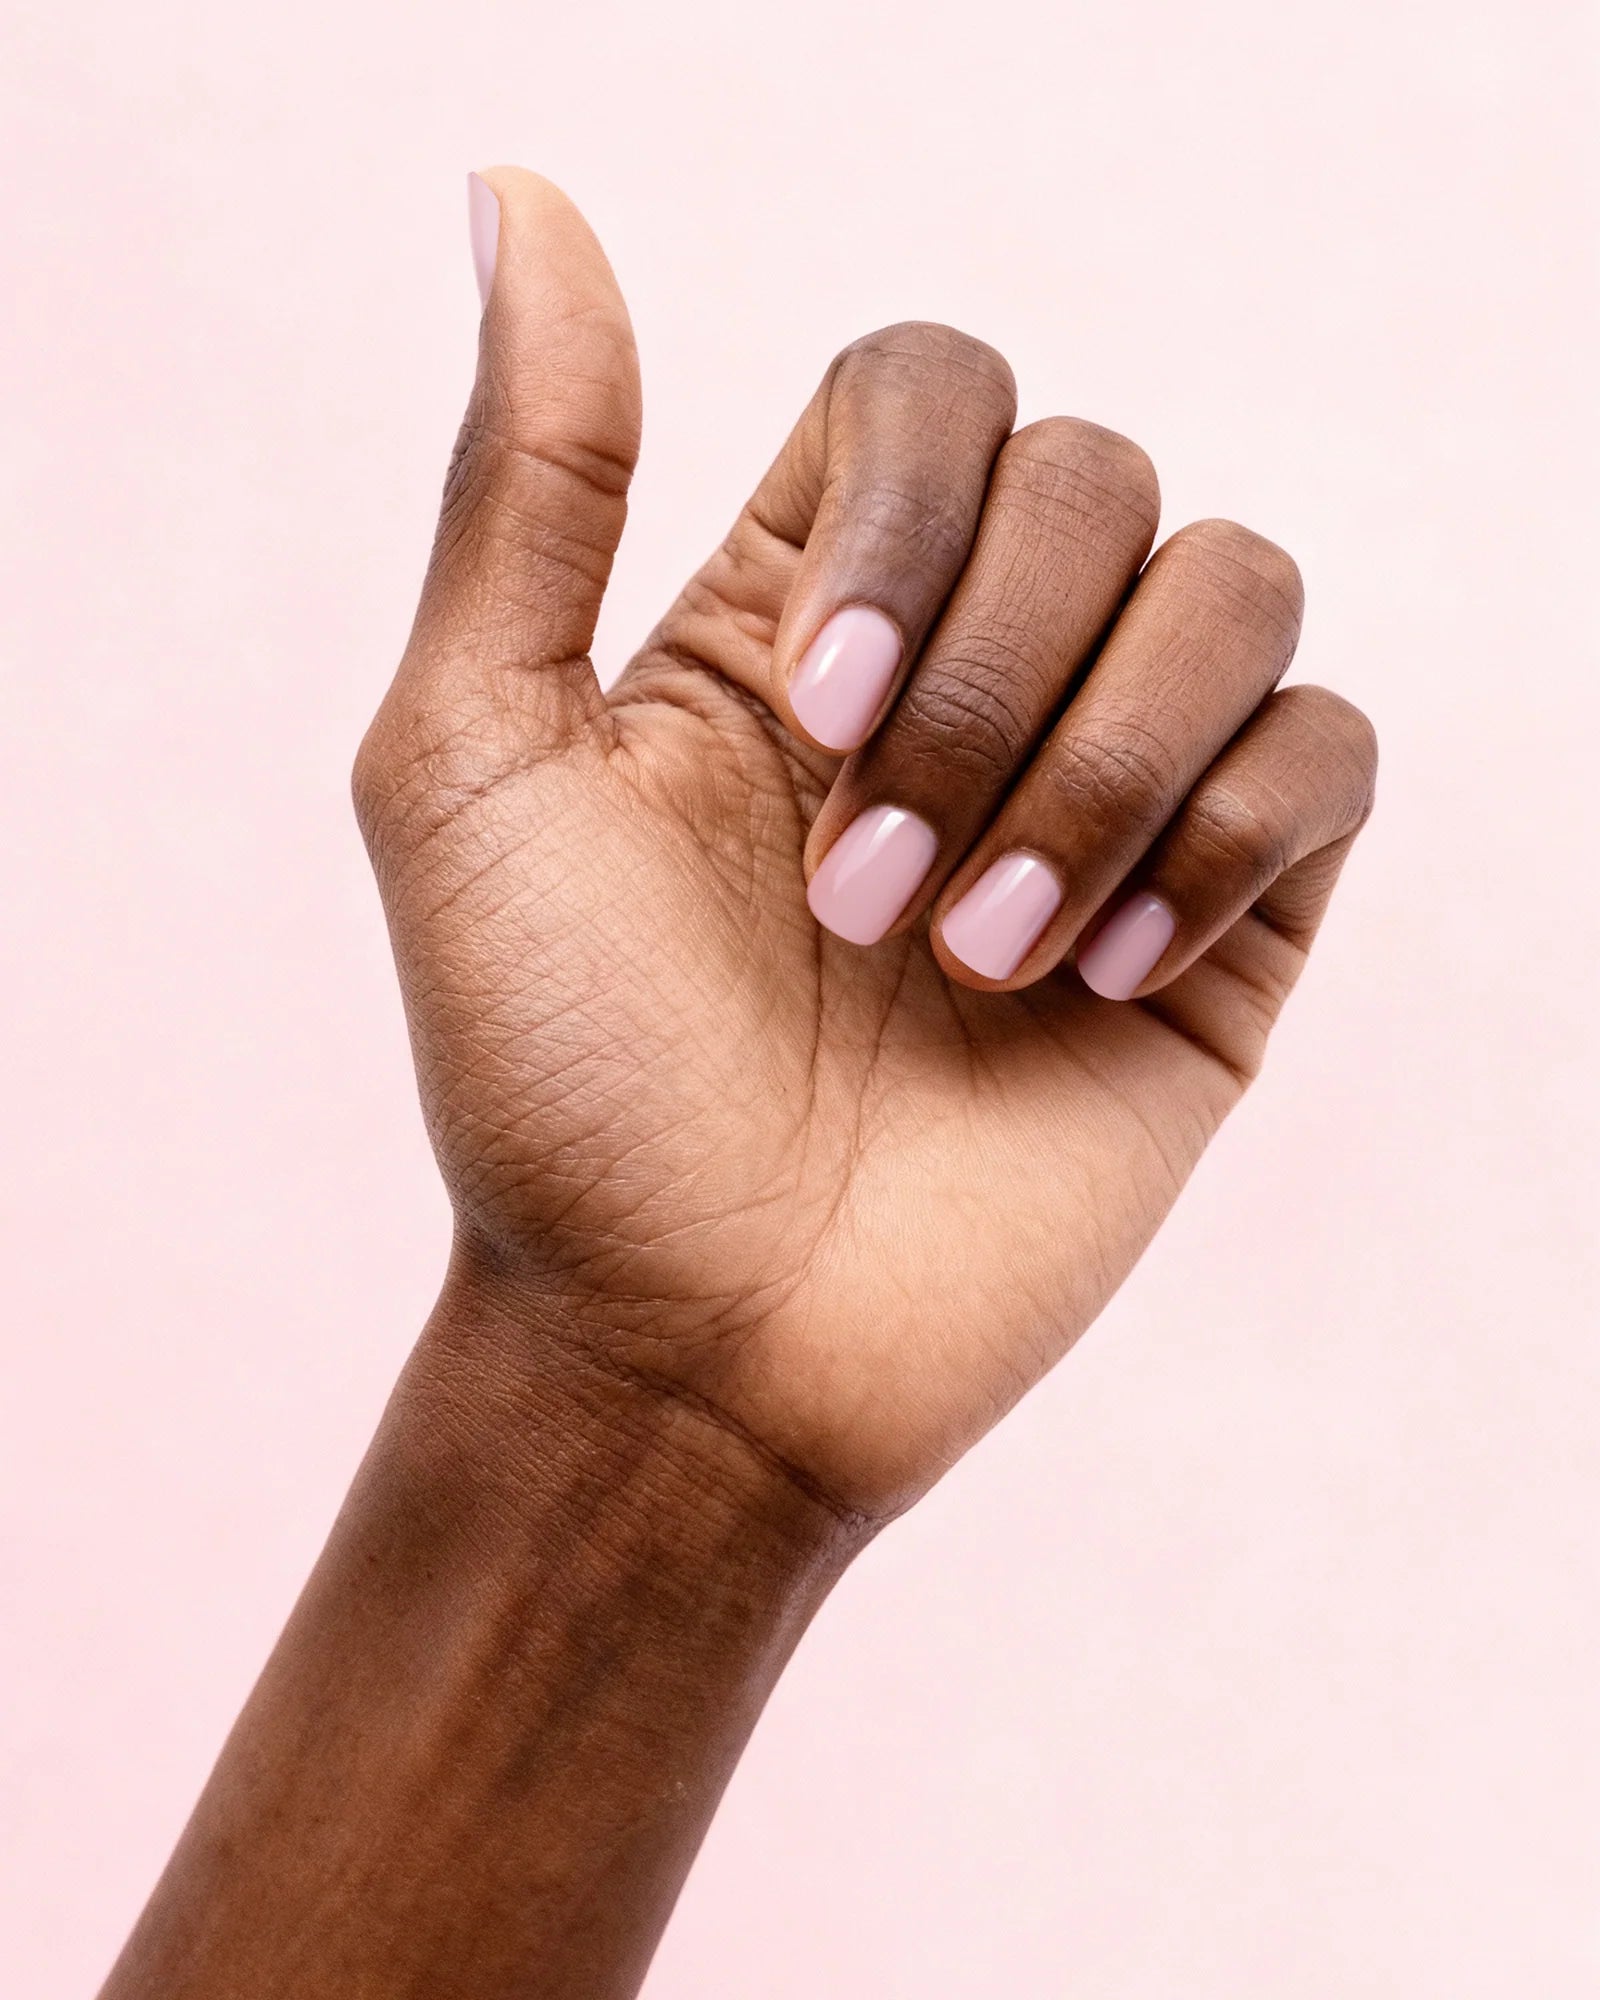
Beginner's Guide to UV Gel Nails at Home
Doing UV gel nails at home has become easier than ever. With the right products and a little patience, beginners can create a salon-quality manicure without leaving the house. However, many first-time users experience common problems like gel polish peeling after only a few days, uneven application, or gel that doesn't last as expected.
The good news is that most of these issues are preventable. Understanding proper nail preparation, the role of the base coat, and correct curing techniques can dramatically improve your results.
This guide explains everything beginners need to know before starting their first UV gel manicure.
What Are UV Gel Nails?
UV gel nails use specially formulated gel polish that hardens when exposed to a UV or LED nail lamp. Unlike regular nail polish, gel polish forms a durable coating that can remain glossy and chip-resistant for up to two or three weeks when applied correctly.
A basic gel manicure usually includes:
- Nail preparation
- Base coat
- Two thin layers of gel color
- Top coat
- Curing each layer under a UV/LED lamp
Each step is equally important. Skipping one often leads to lifting or peeling.
What You'll Need
Before starting, gather the following tools:
- UV or LED nail lamp
- Gel base coat
- Gel color polish
- Gel top coat
- Nail file
- Buffer
- Cuticle pusher
- Nail cleanser or isopropyl alcohol
- Lint-free wipes
- Cuticle oil
Using products designed to work together often provides the most consistent curing performance.
Step 1: Proper Nail Preparation
One of the biggest mistakes beginners make is rushing nail prep.
Even premium gel polish won't adhere well if the nail surface isn't properly prepared.
Start by:
- Removing any old polish
- Trimming and shaping nails
- Gently pushing back cuticles
- Buffing away natural shine
- Cleaning nails with alcohol to remove dust and oil
Avoid touching the nail surface afterward, as natural skin oils can reduce adhesion.
Step 2: Why the Base Coat Is So Important
Many beginners wonder whether the base coat is really necessary.
The answer is yes.
The gel polish base coat serves several important functions:
Creates Better Adhesion
Natural nails are smooth and flexible. The base coat forms a bonding layer between the nail plate and colored gel polish.
Without it, color polish often begins lifting around the edges.
Protects Natural Nails
A base coat helps reduce staining from darker gel colors while making removal easier.
Improves Flexibility
Natural nails bend slightly throughout the day.
Quality base coats absorb some of this movement, reducing cracking and premature lifting.
Extends Wear Time
A properly cured base coat helps the entire manicure remain intact for much longer.
Skipping this step is one of the most common reasons gel polish peels after only a few days.
Step 3: Apply Thin Layers
Thicker does not mean stronger.
In fact, thick layers often cause:
- Wrinkling
- Incomplete curing
- Bubbling
- Early peeling
Instead:
Apply one very thin base coat.
Apply two thin color coats.
Finish with one even top coat.
Each layer should fully cure before adding the next.
Step 4: Cure Correctly
Follow the curing times recommended by both your lamp manufacturer and gel polish brand.
Common curing times include:
- Base coat: 30–60 seconds
- Color coat: 60 seconds
- Top coat: 60–90 seconds
Avoid removing your hand before the timer finishes.
If your lamp is old or underpowered, curing may be incomplete, even if the polish looks dry.
Why Is My Gel Polish Peeling Off After a Few Days?
This is probably the most common question beginners ask.
Several factors may be responsible.
1. Insufficient Nail Preparation
Any remaining oil, lotion, or moisture prevents proper adhesion.
Always clean the nail thoroughly before applying gel.
2. Skipping the Base Coat
Without a base coat, gel polish has little to bond to.
This often causes peeling near the cuticle or free edge.
3. Thick Application
Thick gel layers may harden on the outside while remaining soft underneath.
Over time, the uncured gel separates and lifts.
4. Flooding the Cuticle
If gel touches the surrounding skin, it will usually peel from that area first.
Leave a tiny gap around the cuticle for cleaner application.
5. Not Sealing the Nail Edge
Lightly brush polish across the free edge of each nail.
This helps reduce tip wear and chipping.
6. Incomplete Curing
Using incorrect curing times or an incompatible lamp can leave gel undercured.
Undercured gel lacks durability and may peel quickly.
7. Excess Water Exposure
Fresh gel manicures can be affected by prolonged exposure to hot water shortly after application.
Wearing gloves during cleaning can help extend wear.
Tips for Longer-Lasting Gel Nails
If you want your manicure to stay beautiful for two weeks or more, follow these habits:
- Apply thin coats
- Cure every layer completely
- Keep polish off the skin
- Use high-quality base and top coats
- Moisturize cuticles daily
- Wear gloves when washing dishes
- Avoid using nails as tools
Small improvements in technique often make a significant difference.
Common Beginner Mistakes
Many beginners experience similar problems during their first few applications.
These include:
- Applying thick coats
- Skipping nail prep
- Forgetting to cap the free edge
- Mixing incompatible gel systems
- Using expired gel polish
- Removing gel by peeling instead of soaking
- Touching nails before curing
Learning from these mistakes will help improve both durability and appearance.
Frequently Asked Questions
Can beginners do gel nails at home?
Yes. With proper preparation, patience, and the right tools, beginners can achieve professional-looking results after a few practice sessions.
How long should UV gel nails last?
A correctly applied gel manicure typically lasts between two and three weeks before needing removal or replacement.
Why is my gel polish still sticky after curing?
Most gel polishes leave a sticky inhibition layer after curing. This is normal and should be removed using alcohol after the final top coat if your top coat requires wiping.
Can I skip the base coat?
It's not recommended. The base coat improves adhesion, protects the natural nail, and helps prevent early peeling.
Is LED better than UV?
Modern LED lamps cure most LED-compatible gel polishes more quickly than traditional UV lamps. However, always ensure your gel polish is compatible with your curing lamp.
Final Thoughts
Learning UV gel nails at home takes practice, but mastering the basics makes a noticeable difference. Proper nail preparation, applying thin layers, curing each coat thoroughly, and understanding the importance of a quality base coat are the foundation of a long-lasting gel manicure.
If your gel polish has been peeling after only a few days, the solution is often not buying more products—it is improving your application technique. By following these beginner-friendly steps, you'll achieve smoother application, stronger adhesion, and longer-lasting results with every manicure.
Share:
Why Your UV LED Nail Lamp Overheats and Gel Polish Bubbles
UV LED Nail Lamp Wattage Guide for Home Gel Manicures