


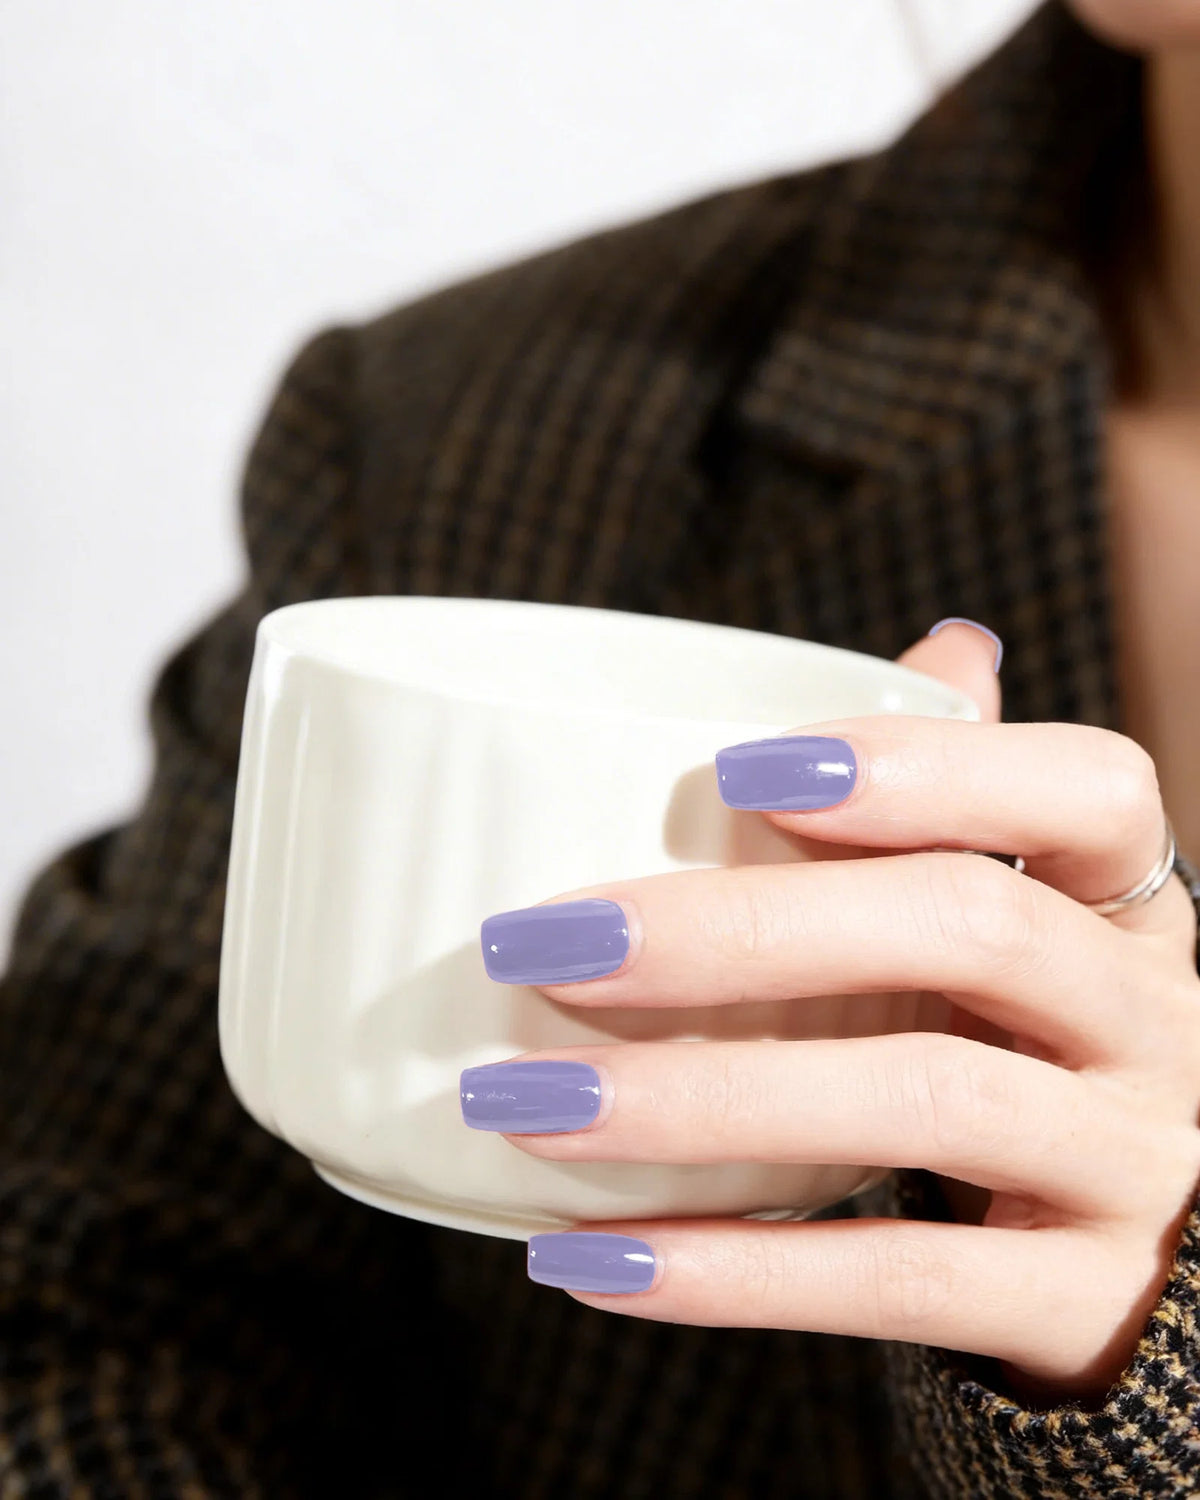
How to Prevent and Fix Gel Polish Lifting at Home
A gel manicure can look smooth, glossy, and salon-quality, but one common problem many DIY nail enthusiasts experience is gel polish lifting. When gel starts peeling around the edges or separating from the natural nail, it can shorten the manicure’s lifespan and make the finish look uneven.
The good news is that most gel lifting issues are caused by nail preparation, application techniques, or product compatibility — and these problems can often be improved at home.
Whether you are new to gel nails or want to make your manicure last longer, understanding how to prepare your nails and apply gel polish correctly is the key to achieving better results.
Why Does Gel Polish Lift?
Before learning how to fix gel polish lifting, it helps to understand why it happens. Gel polish needs a clean, dry, and properly prepared nail surface to adhere well.
Common reasons for gel polish lifting include:
1. Natural Oils on the Nail Plate
Your nails naturally produce oils that protect them, but excess oil can prevent gel polish from bonding properly. Even touching your nails too much during the process can transfer oils back onto the surface.
2. Incomplete Nail Preparation
Skipping important preparation steps, such as removing cuticle residue or gently buffing the nail surface, can cause gel polish to lift from the base or sides.
3. Applying Thick Layers
Gel polish should be applied in thin, even coats. Thick layers may not cure completely under a UV or LED lamp, leading to soft gel, wrinkles, or early lifting.
4. Gel Polish Touching the Skin
When gel polish touches the cuticle or surrounding skin, it creates a weak edge where the product can separate. Proper application requires leaving a small gap between the gel and the skin.
How to Prepare Nails for Gel Manicure at Home
Proper preparation is the foundation of a long-lasting gel manicure. Taking a few extra minutes before applying gel polish can make a significant difference.
Step 1: Remove Old Polish Completely
Start with clean nails. Remove any previous gel polish, regular polish, or residue. Avoid applying new gel over leftover products because it can affect adhesion.
Step 2: Shape Your Nails
Use a nail file to create your preferred nail shape. Filing before applying gel helps prevent uneven edges and makes the final manicure look cleaner.
Step 3: Push Back Cuticles Carefully
Cuticle residue on the nail plate is one of the biggest causes of gel lifting. Gently push back the cuticles and remove any dead skin attached to the nail surface.
Avoid aggressively cutting live cuticles, as this can irritate the skin and damage the nail area.
Step 4: Lightly Buff the Nail Surface
Use a fine nail buffer to remove shine from the natural nail. The goal is not to thin the nail but to create a slightly textured surface that helps the gel adhere.
Step 5: Clean and Dehydrate Nails
After buffing, remove all dust and oils with a nail cleanser or alcohol-based solution. Make sure your nails are completely dry before applying base coat.
Avoid using hand lotion or cuticle oil before your manicure, as moisturizing ingredients can interfere with gel adhesion.
How to Apply Gel Polish Evenly at Home
Once your nails are properly prepared, the application process becomes much easier.
Apply a Thin Base Coat
The base coat creates a bonding layer between your natural nail and gel polish. Apply a thin, even layer and avoid flooding the cuticle area.
Cure the base coat according to the instructions for your lamp and product.
Apply Gel Polish in Thin Layers
Instead of applying one thick coat, use two or three thin layers. Thin coats cure more evenly and help create a smoother finish.
When applying gel polish:
-
Start with a small amount of product.
-
Apply from the center of the nail outward.
-
Keep the brush flat for even coverage.
-
Avoid touching the cuticle or skin.
-
Cap the free edge of the nail to help prevent premature peeling.
Cure Each Layer Properly
Proper curing is essential for gel performance. Follow the recommended curing time for your gel polish and lamp combination.
Under-curing can leave gel soft underneath, which may contribute to lifting and reduced wear time.
Finish With a Top Coat
A quality top coat adds shine and helps protect the color. Apply it evenly and cure completely before touching water or performing activities that may affect the finish.
How to Fix Gel Polish Lifting at Home
If your gel polish has already started lifting, avoid peeling it off. Pulling away gel can remove layers of your natural nail and make nails weaker.
Instead, try these steps:
Small Edge Lifting
For minor lifting at the tip or side:
-
Gently file down the lifted edge.
-
Remove any loose gel carefully.
-
Clean the area.
-
Apply a small amount of base coat and gel polish if needed.
-
Cure properly.
Large Areas of Lifting
If a large section has separated from the nail, it is usually better to remove the gel completely and redo the manicure.
Applying new gel over lifted areas can trap moisture and create an uneven surface.
Tips to Make Your DIY Gel Manicure Last Longer
A few simple habits can help extend the life of your gel manicure:
Avoid Water Exposure Before Application
Long exposure to water can temporarily expand the natural nail. Applying gel immediately afterward may reduce adhesion. Try to complete nail preparation when your nails are dry.
Wear Gloves for Household Tasks
Cleaning products and frequent water exposure can weaken the edges of your manicure. Wearing gloves while washing dishes or cleaning can help protect your gel polish.
Do Not Use Nails as Tools
Opening packages or scratching surfaces can create small cracks that lead to lifting.
Keep Your Tools Clean
Dust, oils, and leftover products on nail tools can affect your manicure results. Clean your files, brushes, and equipment regularly.
Final Thoughts
Learning how to fix gel polish lifting at home starts with understanding the basics of nail preparation and proper application. Clean nails, thin gel layers, correct curing, and careful application around the cuticle area are the most important steps for improving your DIY manicure.
A beautiful gel manicure is not only about choosing the right color — it is also about creating a strong foundation. With better preparation and technique, you can achieve smoother, longer-lasting gel nails at home while keeping your natural nails healthy.
Share:
Best UV Nail Lamp for Thick Gel Polish and Sensitive Nails
Why Gel Polish Shrinks Under UV Lamp and How to Fix It